

Planting a bare-root tree might sound intimidating at first, especially if you’re used to buying potted plants from a nursery. But the truth is, bare-root trees are one of the simplest and most rewarding ways to start a healthy fruit tree—when you know what to do. With no heavy soil, no hidden root tangles, and a clear view of the tree’s structure, you’re actually given a rare advantage right from the start. This step-by-step guide walks you through the process in a calm, beginner-friendly way, helping you plant with confidence and set your tree up for strong roots, steady growth, and years of fruitful harvests.
If your plant arrives with bare roots and no soil attached, don’t panic—this is completely normal. What matters most is how quickly and gently you respond. Bare roots are living tissues, and even a short exposure to sun, heat, or wind can dry them out and cause stress before the tree ever reaches the ground.
🪵 Step 1: Protect the Roots Right Away

As soon as you unpack the plant, make shielding the roots your top priority. Never leave them lying in open air, especially outdoors. If planting can’t happen immediately, loosely wrap the roots in a clean, damp cloth or newspaper to keep them hydrated. This simple step preserves moisture, prevents shock, and gives your tree a calm, healthy start—long before it touches the soil.
💧 Step 2: Rehydrate the Roots Before Planting
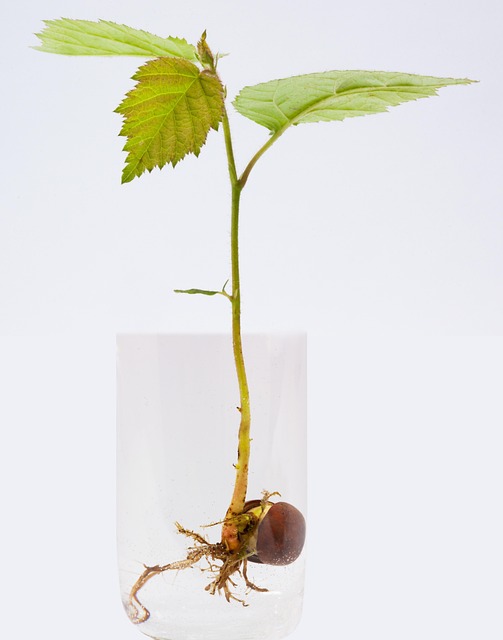
Before your tree goes into the ground, give its roots a chance to drink deeply. Place the bare roots in a bucket of clean, room-temperature water and let them soak for about one to two hours. This gentle soak helps the roots reawaken after storage or transport and prepares them for the soil ahead.
Rehydrated roots are far less likely to suffer transplant shock. They absorb nutrients more easily, establish faster in the ground, and adapt smoothly to their new environment—greatly increasing the chances that your tree settles in and grows with confidence.
☀️ Step 3: Choose the Right Spot Before You Dig
Where you plant your tree matters just as much as how you plant it. Take a moment to observe your garden and select a location that receives at least six to eight hours of direct sunlight each day—this is essential for strong growth and future fruiting.
Equally important is soil that drains well. Avoid low-lying areas where water tends to collect after rain, as soggy soil can suffocate young roots and invite rot. A slightly raised, open spot with good air flow and no standing water creates the healthiest environment for your tree to settle, spread its roots, and grow without stress.important in Indian soils, which can become compact or waterlogged.
🕳️ Step 4: Dig a Wide, Root-Friendly Hole
When it’s time to dig, think in terms of comfort rather than depth. The planting hole should be at least twice as wide as the natural spread of the roots, giving them plenty of space to stretch outward instead of being cramped.
Depth is just as important—dig only deep enough so the roots can rest in their natural position. Avoid forcing them downward or curling them around the hole. Roots that are bent, twisted, or crowded struggle to establish and can slow the tree’s growth from the very beginning. A wide, relaxed hole encourages roots to settle easily and anchor the tree firmly as it grows.
🌱 Step 5: Position the Tree with Care
Lower the tree into the hole and gently spread the roots outward in all directions, letting them rest the way they naturally want to grow. This helps the roots explore the soil easily and prevents future stress or imbalance.
Pay close attention to the base of the stem—it should sit right at soil level, not buried and not raised. If your tree is grafted, make sure the graft union stays clearly above the soil surface. Burying it can weaken the tree over time or cause unwanted growth from the rootstock. Correct positioning at this stage sets the foundation for a strong, healthy tree that grows true to its variety.
🪵 Step 6: Backfill Gently with Nourishing Soil
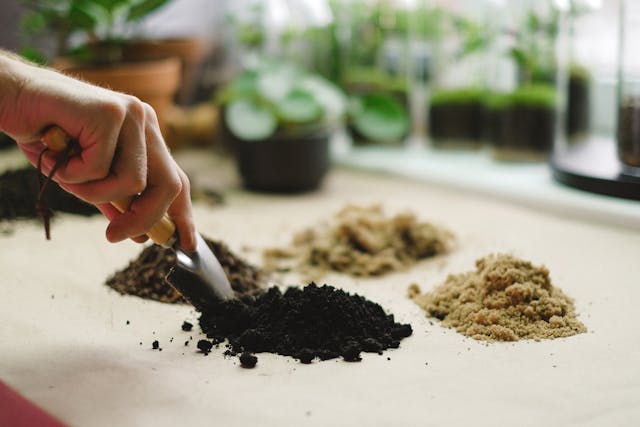
Once the tree is positioned correctly, begin filling the hole using a mix of your garden soil and well-rotted compost or aged manure. This combination provides structure while gently introducing organic nutrients that support early root growth.
Add the soil gradually, pausing to lightly firm it with your hands as you go. This removes large air pockets without compacting the soil too tightly around the roots. At this stage, skip chemical fertilizers entirely—young roots are sensitive, and strong synthetic inputs can do more harm than good. Simple, natural soil support is all your tree needs to begin settling in comfortably.
💦 Step 7: Water Deeply to Help Roots Settle
Once planting is complete, give the tree a slow, deep watering. This first soak is more than just moisture—it helps the soil settle naturally around the roots and removes any hidden air pockets left behind during planting.
Deep watering also encourages the roots to make direct contact with the surrounding soil, which is essential for nutrient uptake and stability. Take your time with this step; a calm, thorough watering signals to the tree that it has found a safe place to begin growing.
🍂 Step 8: Mulch Gently to Protect and Support
Finish the planting process by adding a protective layer of mulch around the base of the tree. Spread it in a loose ring, keeping a small gap around the stem so moisture doesn’t sit directly against the bark.
Mulch acts like a comfort blanket for the soil. It helps retain moisture, shields young roots from temperature swings, and reduces the stress that often follows transplanting. Over time, organic mulch also breaks down and improves soil structure—quietly supporting your tree as it settles in and begins new growth.
🧩 Bare-Root Planting Problems: Real Situations & Smart Fixes
Bare-root trees are forgiving, but they still communicate stress when something isn’t right. This extended chart covers common planting mistakes, early warning signs, and simple corrections that can save your tree before damage becomes permanent.
| Real Situation | What Usually Goes Wrong | Early Warning Signs | Simple, Practical Solution |
|---|---|---|---|
| Plant transported or stored without soil | Roots lose moisture rapidly | Roots look dry, brittle, or pale | Soak roots in clean water for 1–2 hours before planting |
| Tree recently uprooted from ground | Sudden transplant shock | Drooping leaves, slow recovery | Trim broken roots and mulch to reduce stress |
| Roots exposed to sun or wind | Dehydration and tissue damage | Wilting within a day or two | Provide shade and plant immediately |
| Planting hole too narrow | Roots circle or bend unnaturally | Weak anchoring, poor growth | Dig a wider hole and spread roots naturally |
| Soil packed tightly around roots | Restricted airflow and growth | Stunted development | Loosen soil gently while backfilling |
| Area holds standing water | Oxygen starvation leads to rot | Yellowing leaves, foul soil smell | Plant on a raised mound or improve drainage |
| Graft union buried under soil | Rootstock dominates growth | Suckers below graft | Keep graft union clearly above soil level |
| Overwatering after planting | Roots suffocate instead of settling | Soft soil, leaf yellowing | Water deeply but allow soil to drain |
| Fertilizer added at planting | Young roots get burned | Leaf curl or halted growth | Delay feeding until new growth appears |
| No mulch applied | Soil dries and temperature fluctuates | Cracked soil surface | Add organic mulch, keeping it off the stem |
This kind of mindful planting turns mistakes into lessons—and helps bare-root trees recover faster, grow stronger, and settle in with confidence.
🌿 Key Mistakes to Avoid When Planting Bare-Root Trees ❌
Most bare-root trees fail not because the process is difficult, but because a few small steps are rushed or skipped. Leaving roots exposed for hours can quietly dry them out beyond recovery, even if the tree still looks fine at first. Skipping the soaking step has a similar effect—roots that go into the ground thirsty struggle to establish and often lag behind.
Another common mistake is feeding too early. Freshly planted roots are sensitive, and adding fertilizer right away can burn them instead of helping. Planting too deep is equally harmful, as buried stems or graft unions interfere with airflow and invite rot. Finally, skipping mulch leaves the soil vulnerable to drying and temperature swings.
Avoiding these mistakes doesn’t just improve success—it can actually save a tree even in challenging conditions, giving it the calm, stable start it needs to grow strong 🌱.
🌟 A Thought to Leave You With
Whether you had no choice but to transport a plant without soil, discovered a bare-root sapling unexpectedly, or had to uproot a tree out of necessity—none of that means the plant is doomed. What truly matters is what happens next.
When handled with patience, given time to rehydrate, and supported with gentle, organic care, bare-root trees show remarkable resilience. In Indian garden conditions especially, this calm and mindful approach allows them not just to survive, but to settle in, adapt, and grow with quiet strength.
“Don’t judge a tree by the soil it lost—judge it by the care it receives.” 🌱
A tree doesn’t remember the disruption—it responds to the care that follows 🌳.